Tuesday, February 15, 2011

Monkey Pull-Apart Bread


For Valentine's day, Peter made dinner for me! He made a beautiful meal! So I got that extra time to come up with a fun treat to make for him... Monkey bread! It was perfect for Valentines because I could make it in a heart-shaped bundt pan, instead of the normal circle bundt pan. Also, it was fun because you can just eat it with your fingers, so we could sit on the couch and watch a movie together while we had fun pulling it apart. AND, any leftovers become a breakfast treat the next morning... what, it's the same as a cinnamon roll for breakfast!


I would love to make this with a homemade dough, but that will have to wait for another post; this night I wasn't really allowed in the kitchen because Peter wanted dinner to be a surprise. Thus, this version will be with a pre-made dough. So this one is quick and easy. 


Ingredients: 

  • 2 loaves of Bridgford 'Ready-Dough', defrosted (sold in 3 packs, in the freezer section of the supermarket) ...you can use all 3 loaves of bread if you want more, but be sure to bump up the amount of butter to 1 1/2 sticks if you do so.
  • ½ cup butter (1 stick), melted
  • Cinnamon sugar mixture (4 tsp cinnamon mixed with 3/4 cup sugar)

*Chopped pecans or walnuts (optional)
*Glaze (optional): (1 Tbsp melted butter, 1/2 C powdered sugar, 1 Tbsp milk, 1 tsp. vanilla extract) 

Preheat your oven to 100 degrees F, then set up a little assembly line:
1. Roll the defrosted dough into little balls (smaller than a golf ball, but bigger than a large marble)
2. Dip the balls into the melted butter. 
3. Roll them in the cinnamon sugar mixture.
4. Place each ball in a sprayed bundt pan as you go. No need to pack them in- just layer them gently, as little spaces are necessary to give them room to rise and pull apart later. 
**(Optional: if you like nuts or the added crunch, try sprinkling in chopped pecans or walnuts into the pan before you start filling with dough balls. And/Or mix some pecans/walnuts throughout the layers of dough balls ). 
(here is my assembly station)

After you are done, turn OFF the oven, pour any extra melted butter over the dough balls and sprinkle with a little leftover cinnamon-sugar mixture. 
 (Don't worry if it looks like there is not enough dough; it WILL fill up more later while it rises, and again even more when it cooks)

Place pan in the warm and OFF oven and let them rise about 30 minutes or so. (perfect for while you are eating dinner). 

Then take the pan out, and let it sit somewhere warm or on top of the stove while you preheat the oven to 350. 
(See how much it has grown and puffed up already!)

Then cook it for about 20-25 minutes, until it looks golden and puffy like this:


Then invert on a plate and have fun pulling apart this sweet, sticky treat! 
**Caution: hot sugar BURNS, so maybe let it cool just a minute or so before you start pulling at it :)


ALSO, If you would like, you can drizzle a little glaze over the top and add a sprinkle of powdered sugar to dress it up even more (as if it needs more dressing up... or more calories :)

Because Peter brought home these gorgeous flowers:

and made this delicious meal:

and set this beautiful table: 

...I figured he deserved the extra glaze ...I'll just blame it on that- not that I wanted it myself or anything :)

Sunday, February 13, 2011

Vodka Pasta- a perfect pink sauce for Valentines!


Okay, vodka sauce is my favorite pasta sauce. I fell in love with it the very first time I tasted it at a little Italian ristorante in Dana Point, 'Mario's By The Sea'. With Valentine's Day just around the corner, maybe you will fall in love too... with the sauce I mean. It is so pink, and pretty, and perfect for the occasion! It is a great alternative to the usual red sauce for a special treat once in a while. This vodka sauce is  somewhat sweet with its sauteed onion, sweet basil, creamy background, and a good dose of cheesy parmesan... all very complimentary counterparts to the typical tomato sauce.


Recipe List:
  • 1/2 Onion, diced
  • 2 cloves Garlic, minced
  • 1/4 tsp Red Pepper Flakes
  • 1/2 cup Vodka
  • 1 (28-oz) can of Crushed Tomatoes, OR 3 cups or so of your own homemade red sauce
  • 1 cup of Half & Half (or a little more as preferred to achieve your desired pinkness :) -In a normal Vodka sauce recipe, this would be heavy cream, but I have substituted it for the (how do I say this nicely) less unhealthy half & half, haha.)
  • 1/2 cup of grated Parmesan Cheese, plus extra for serving
  • 1 lb of pasta (I like to use Penne Rigate, but any pasta you like will do)


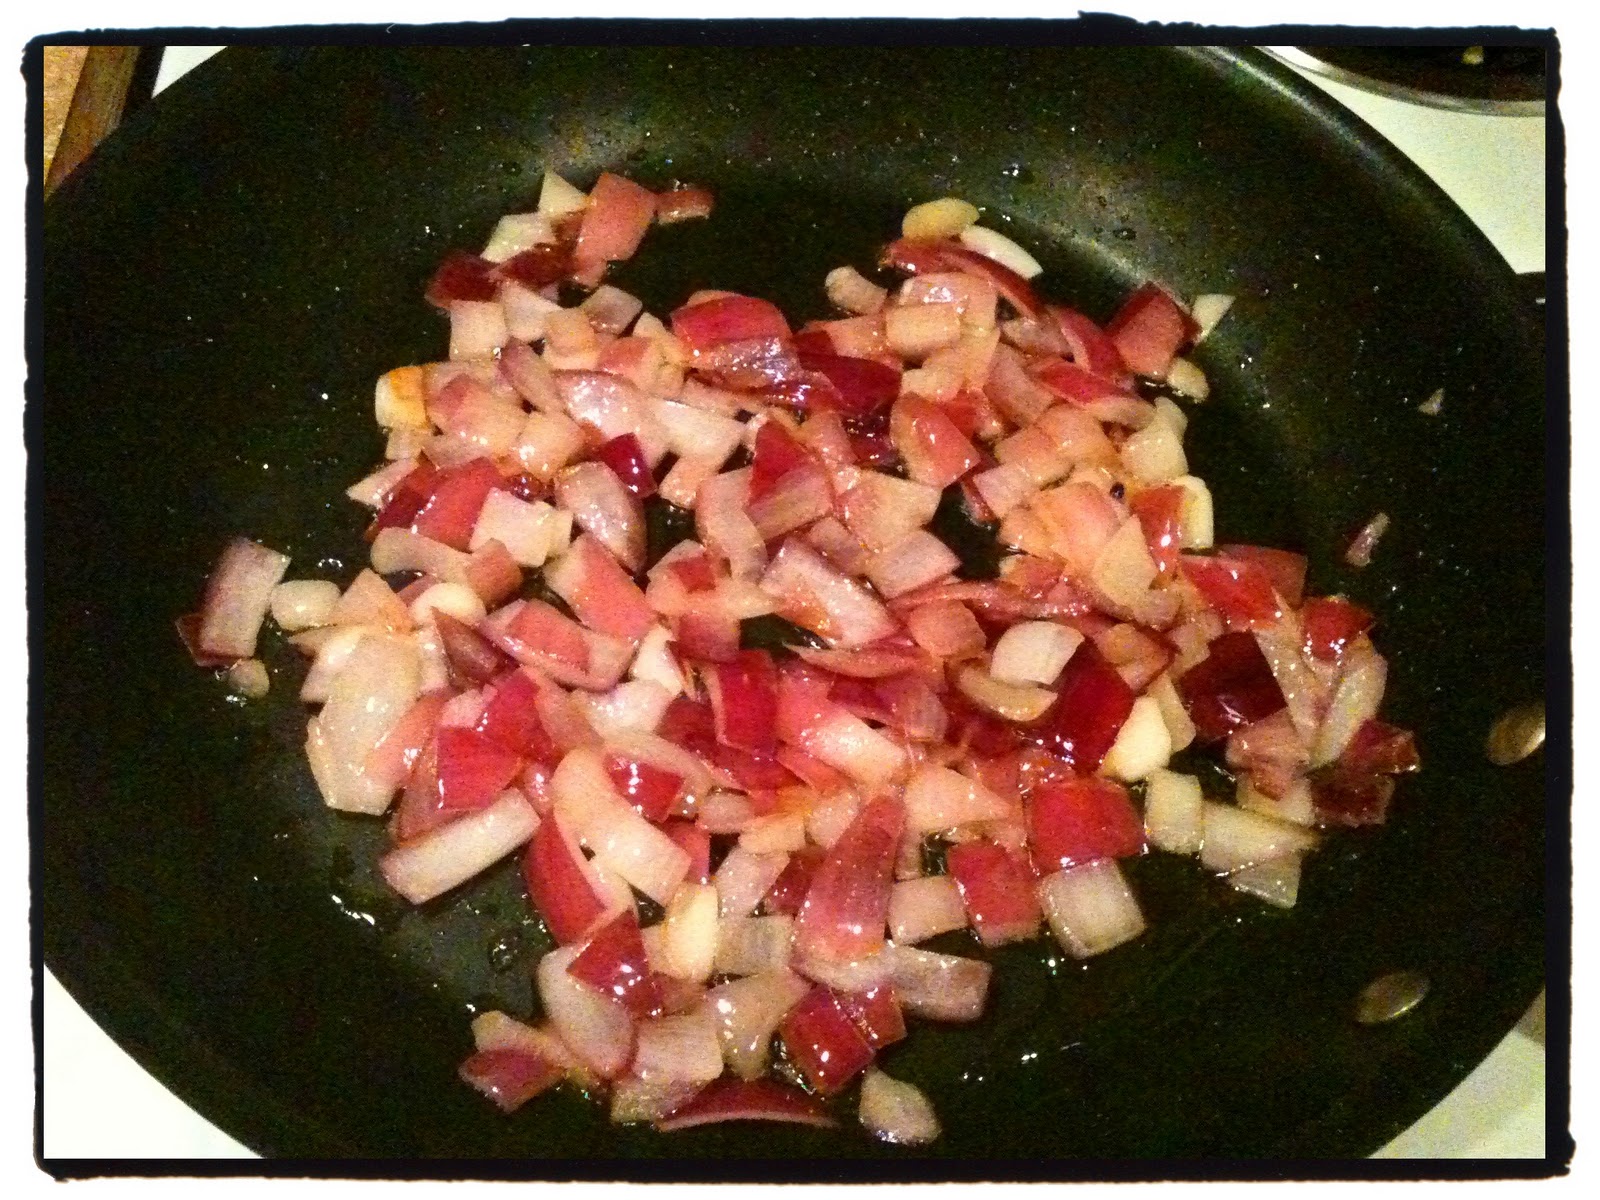
Start by sauteing the onion in some extra virgin olive oil over medium-low heat for a few minutes (while you mince your garlic, and start boiling your pasta):


Then add the minced garlic and the red pepper flakes, continue to saute over medium-low heat for another minute:


Stir in the Vodka and let that simmer for about 2 minutes before you add in the crushed tomatoes and basil. Let this all simmer together for a minute:


Now, stir in your half-n-half and watch the pan turn to a beautiful pink color! :) Bring it to a slight boil, then turn the heat to low and let this sauce simmer together until your pasta is done cooking.


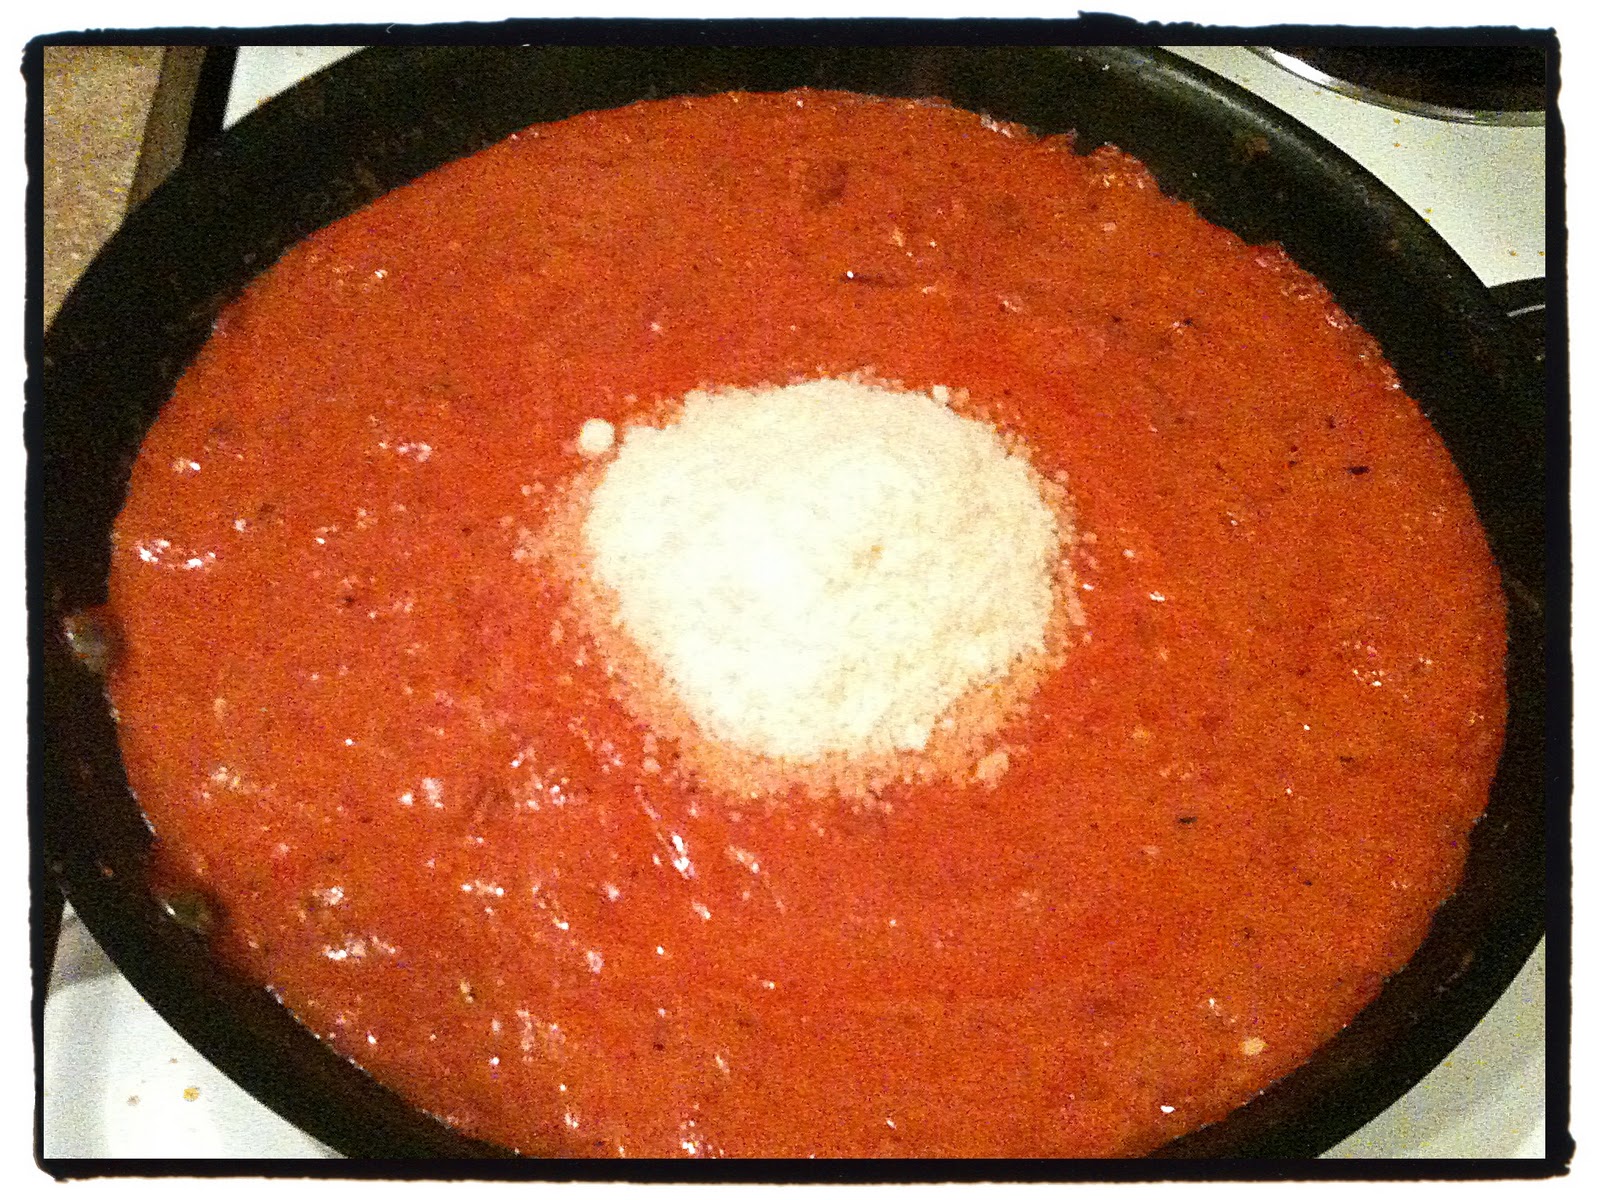
When the pasta is al dente, drain the noodles, then stir the parmesan cheese into the sauce


Then combine the sauce with the hot pasta and.... mangia! (or 'eat', in Italian!)
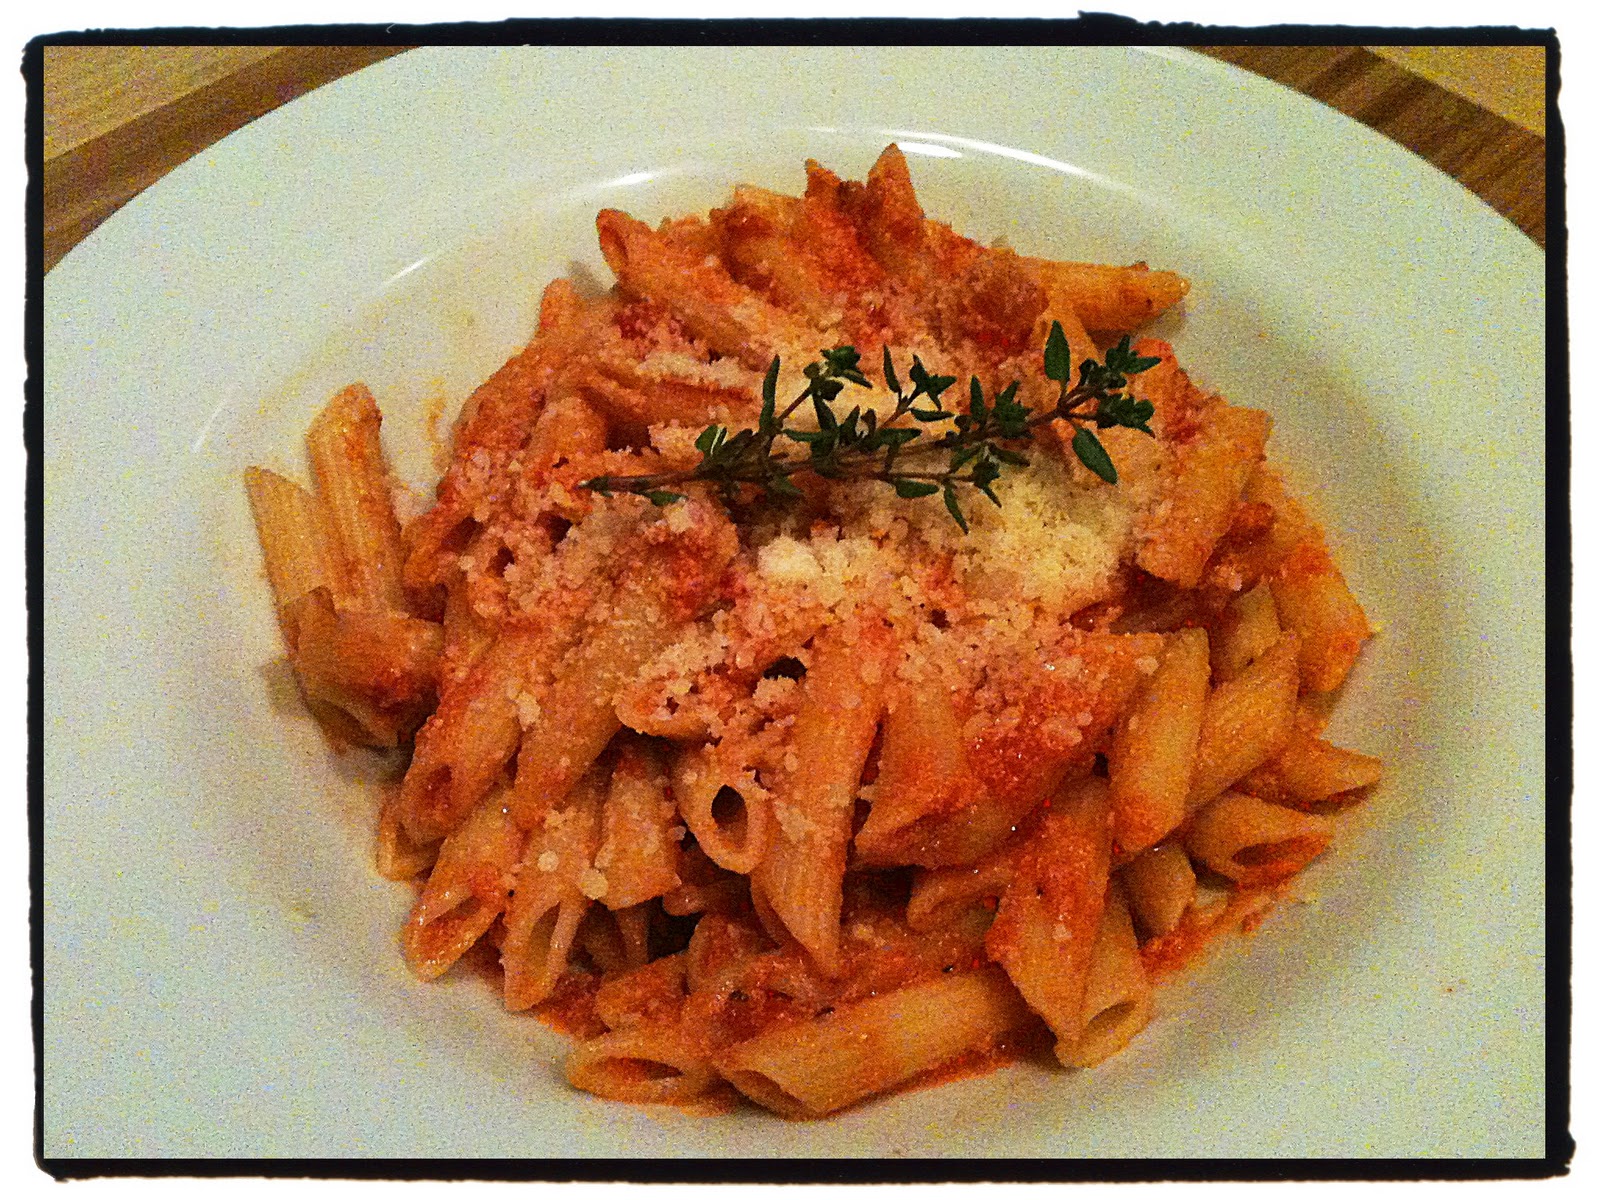
 Here are two different ways you can plate up this pink sauce :)


Don't forget to top it with a little extra sprinkle of parmesan cheese :) (If you're serving this for Valentine's Day, you can use a little heart-shaped cookie cutter and just sprinkle parmesan inside the heart so that you have a sweet design for your special night. I tried to do it tonight, but I couldn't find my cookie cutters. -Also, I think this would work only if you ladle the sauce on top of noodles (like picture #1 above) before you stir it all together (like picture #2 above)).


Also, I would have garnished with a few leaves of fresh basil, but my basil plant passed away. Therefore, I had to use another herb to garnish here that is commonly in the red sauce; thyme! But, if you have some fresh Basil, that would make a great garnish here! Garnish should give a little hint as to the flavors and herbs actually used in the dish.
I also think that it's important to garnish, because people eat with their eyes first. Plus, it's so fun to dress up your dishes, especially if it's a meal for entertaining guests or a special event, like say... Valentine's day! :)


Alterations:
  • I love, love, love sliced zucchini in this sauce. Unfortunately for me, I married a zucchini-disliker. Cut a zucchini in half lengthwise, and then slice them so that you end up with a bunch of little half-moon cuts; steam them for 30 seconds and stir them into the sauce to let it simmer after you have added the cream. 
  • You can also add little broccoli florets too. I have done both zucchini and broccoli together and it is great!
  • Serve with some diagonally cut grilled chicken, so you can keep the elegance while providing some protein
  • Accompany with warm, toasty bread... mmm!

Friday, February 11, 2011

Stuffed Bell Peppers


This night, I had every intention of making something completely different for dinner. I had a whole menu planned, but plans changed after I browsed through the grocery fliers that had come in the mail. When I saw all the beautiful produce items featured in the mailer, I decided that I would make a recipe to  use those ingredients instead. These beautiful and SUPER HEALTHY stuffed bell peppers were the result.


Recipe List (for 2 large servings):
  • 1 large Red Bell Pepper (or 2 medium Bell Peppers)- Our bell peppers weren't that big, so it needed the extra half of our second medium bell pepper... Peter didn't complain :)
  • 1/2 medium Yellow Onion, diced
  • 1/2 lb lean Ground Turkey
  • 1 clove Garlic, minced
  • 2 tsp Paprika
  • 1 tsp Lemon Pepper
  • 1 cup Rice, precooked
  • 4 tbsp (or 1/4 cup) of either tomato sauce or tomato paste
  • 1 large Roma Tomato, diced

First, preheat your oven to 350 degress F. Then, saute your diced onion in extra virgin olive oil:


Then add the ground turkey, minced garlic, and seasonings:


When the turkey has browned and cooked through, add the rice and tomato sauce/paste and mix well:

Then gently mix in the diced tomato:


Now grab the bell peppers that you have cut in half and deseeded:

Stuff them with your rice mixture:


Top with some parmesan cheese:


Fill a shallow oven-safe dish or a jelly-roll pan with water until it is about 1/4 inch thick. Stand your stuffed peppers in the shallow water. 


Bake in a 350 degree F preheated oven for 25 minutes or so, until the bell pepper looks soft and sweet and the parmesan is golden on top:


Plate it up with a side that will compliment these tasty and nutritious stuffed peppers


Alterations: 
  • I have seen some other versions where the bell pepper halves are blanched before they are stuffed. This will give them a little head start on the cooking process and will result in even softer and sweeter peppers. I might recommend this for those who aren't big bell pepper fans (I used to not be a bell pepper fan at all... a seemingly cardinal sin as a Nutritionist; when I was in college, all the nutrition majors would show up to class with water bottles and baggies of home-packed snacks: celery sticks, carrots, and bell pepper slices... I wanted to fit in, but I wasn't a bell pepper fan yet). 
  • You can also follow this same recipe, but use it to make stuffed zucchini or stuffed tomatoes!
  • You can make this healthy recipe even healthier by substituting brown rice for white rice :)