Showing posts with label Meatless. Show all posts

Friday, March 23, 2012

Egg 'McMuffin'


I call these Egg 'McMuffins', but they're really more like omelette muffins, or a crustless quiche, or maybe even more like mini frittatas. 


I made these one morning for Pete and a few of his buddies a while ago when they came down for a Saturday morning in Laguna. That morning, Pete and I took an early Saturday morning stroll and walked down to the market to get some groceries for breakfast. Peter got a call on his cell phone and the next thing I heard, he was saying, "Sure, Meg's about to make breakfast- come on down!" Suddenly, my menu changed and I had to get back and throw a feast together fast! I had never made these before, but it was the easiest way to throw together a bunch of breakfasts for a bunch of boys with about NO times notice. They were such a hit that I have loved making them ever since then. This week, these little egg muffins made their debut as our St Patricks Day pots of gold :) 


Besides the fact that they are fun and fast for breakfast, they are also great because you can use ANY ingredients that you would normally like in an omelette or quiche. PLUS, they are awesome to keep in the fridge and reheat for an instant breakfast on a work morning. That's what we have been doing all week; Pete has just been loving these quick healthy little 'omelettes'. 


Recipe (for a large (6 muffin) sized muffin pan): 

  • 10 Eggs
  • 1 cup Skim Milk, or fat free Half & Half
  • 1/2 cup shredded Cheese (I use low moisture part skim Mozzarella, but Cheddar, Gruyere, or Swish would be good too)
  • Toppings (I use 2 Bell Peppers- 1 red & 1 green, 1 diced Yellow Onion, for the boys I added 8 oz. lean Sausage, I just used the veggies for Peter and I and it was great too!)
  • *Optional 1/2 teaspoon Salt
Directions: 

  1. (*If using sausage or bacon, cook that in your pan first.)
  2. Heat some Canola oil in a sautee pan and cook your diced onion and bell peppers for a few minutes. 
  3. Whisk your eggs and milk together (you can add a little salt here too. If you are using a breakfast meat though, those are usually pretty salty already; also cheese adds a little salt to it as well)
  4. Spray your muffin tins with nonstick spray.
  5. Divide your sauteed veggies and/or meat evenly between the muffin tins. 
  6. Ladle the eggs into each muffin tin over the fillings
  7. Sprinkle a little cheese on top of the egg
  8. Bake at 400 degrees F for about 20 minutes. 
Bake until they puff and golden on top:

Look at how beautiful and golden they get!

However, they do deflate within minutes of pulling them out of the oven. I've tried using a little baking powder whisked into the egg mixture to make them stay puffed... but that just leaves a funny taste to them. 
Nevertheless, these deflated little omelette muffins are still SO SO yummy and convenient just the way they are. 
I let these cool, then store them in the fridge in a giant ziplock bag. I've been SUPER busy with work and have had a lot of early mornings, so these are great for Pete. He just pulls one out heats it in the microwave and dabs a little tapatio on it. Instant homemade breakfast to go!

Other Ideas: 
  • If you have guests staying the night, you can make these ahead of time and cover them in the fridge until the morning when you can bake them off fresh.
  • You can toast a whole grain English Muffin and put one of these little egg muffins between it to make a breakfast sandwich.

Wednesday, February 1, 2012

Jalapeno Cream Cheese-&-Crackers


This is another AWESOME appetizer.... and just in time for Super Bowl parties! 
Don't be deceived by the jalapeno, this appetizer is hardly spicy at all. You can control the heat by using mild jalapeno jelly. Plus, jelly has enough sugar in it that it mellows out the spiciness, and the cream cheese definitely calms down any spiciness as well. The first time I had this was at my Aunt's house like 15 years ago! She served this appetizer before dinner and I think I ate most of it! I LOVED it. As a little girl, I didn't like jalapenos or spicy foods at all (what kid does?), but this is an unusually tantalizing combination of flavors that you must try- even if you don't like spicy flavors. 


Now, there are not a lot of companies that make jalapeno jelly- so my only option is this one company that makes a mild jalapeno jelly in bright green, and a hot jalapeno jelly in bright red. I would prefer to serve the red color since it is more appetizing looking, but since appetizers are to serve a wide variety of people I usually opt for the mild version. Unfortunately, that leaves me with this alien-like bright green one. I'm going to have to start making my own homemade jalapeno jelly because this neon green isn't the most appetizing looking color to serve on a platter. Regardless if it makes people look twice, they will love it! I've had lots of 'spicy-food-haters' who are shocked at how much they love this simple snack and they end up being the ones who eat the most of it. 


It's simple; you can just pick up the 3 ingredients at the store on your way to an event and assemble it in 2 seconds when you get there. This is a great secret to keep in your back pocket for when you find yourself short on time!


This appetizer has all the makings of a beautifully addictive treat: the crackers make it crunchy and salty, the cheese makes it creamy and smooth, the jelly makes it sweet and spicy. This one's got it all :)


Shopping List:

  • 1 box Wheat Thins (reduced fat works fine also)
  • 1 (8 oz) box of Cream Cheese (light versions work well too)
  • 1 jar of Jalapeno Jelly (your choice of mild or hot)


Simply pour the jelly over the top of the cream cheese and serve with the crackers on the side. Don't forget a little cheese spreader knife as well :)

Wednesday, January 18, 2012

Baked Spaghetti 'Pie'


This one was so much fun to make! It's like a facelift for spaghetti! It could also be a great way to use leftover noodles :)

Peter called me when he got off work and said that he had invited some friends over for dinner. This was a great quick dish to throw together. Luckily, I already had a batch of my homemade bolognese sauce, but if you're really in a rush for time you could make a quick marinara sauce, (or let's be honest- when in a real bind there is no shame in reaching for a good jar of red sauce from the market!)
In any form, this is a delicious and easy entree to whip up. Plus, isn't it so much more fun than plain old spaghetti?!!

Comments from the boys were: 
-"This is so much easier to eat than spaghetti, and it tastes better too!"; 
-"This is so good!...Megan, did I say yet how  good this is!?"; and finally- 
-"Best homemade meal I've had in a long time!"...but that was coming from the boy that just got back from a 'boys trip' in Mexico, so I don't think this one counts, Haha!

This night the three guys took down the whole thing, but I'd say it could normally serve 6 people comfortably- (not counting big hungry boys as normal people, of course)

Ingredients (makes 1 large pie; 8 slices)
  • 6-8 ounces Spaghetti noodles, cooked al dente
  • 2 Tablespoons Butter
  • 1/3 cup grated Parmesan Cheese, plus 1/4 cup for topping
  • 2 whole Eggs
  • 1 (16 oz) container of Fat Free Cottage Cheese (or you can use ricotta cheese. I opt for cottage cheese because it is healthier and tastes just as good when it's all cooked in; those who don't normally care for cottage cheese don't even know it's in here and they love it.)
  • 1 heaping cup of Shredded Mozzarella, plus 1/2 cup for topping
  • 1/2 batch Bolognese sauce, or Marinara Sauce, or your favorite jarred sauce.

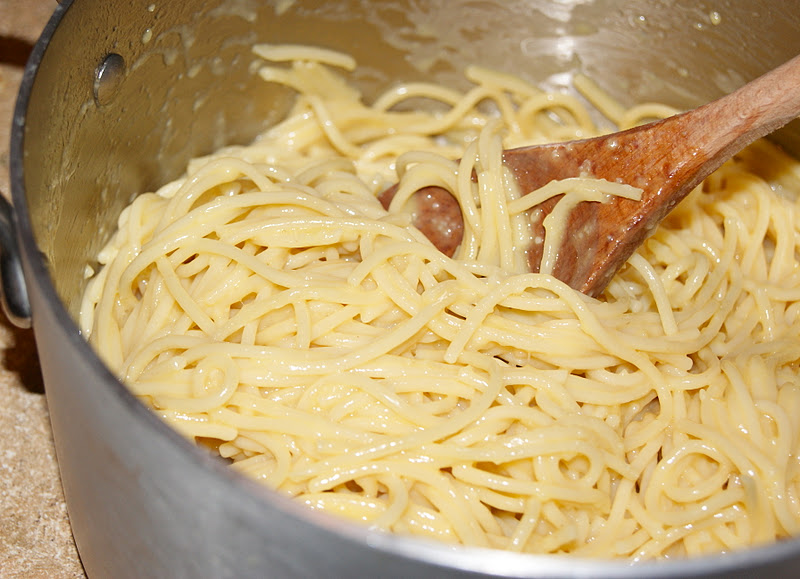
Cook pasta 'al dente'; drain; While still hot, stir in 2 Tbsp Butter, 1/3 cup grated parmesan cheese and 2 eggs; Mix well.
The cheese and butter mixed into the noodles give lots of flavor to this bottom layer of the dish; the eggs  hold it all together as it bakes so that later you will be able to cut it into nice slices without the noodles flopping all over the place. 

Lightly spray or butter your baking dish, and press noodles firmly into bottom of oven safe dish. (I use this Le Creuset pan, but you could use a casserole dish, a large pie pan, ...any oven safe baking dish)

Mix cottage cheese with 1 cup shredded Mozzarella and press firmly on top of noodles.

Layer your sauce on top of the cheese mixture. I used my homemade bolognese sauce, but you could always use a simple marinara if you are looking for a meatless entree. 
If you want to make this 'spaghetti pie' look like a 'pizza pie', you could also use a simple marinara sauce, top with mozzarella, and then top it lastly with slices of Italian sausage (or any pizza toppings for that matter) to turn this spaghetti pie into a 'spaghetti-pizza pie'! 


Top with a final covering of 1/2 c. mozzarella and 1/4 c. parmesan:


Bake at 350 degrees Fahrenheit for about 45 minutes, or until your cheesey top becomes golden-brown and bubbly!!! Mmmmm...


Slice into wedges to serve. Mangia! 

Friday, January 13, 2012

Quick & Easy Weeknight Cheater Meal


Sourdough bread bowl filled with creamy tomato soup, and a grilled cheese sandwich on the side:


So this isn't exactly a 'recipe', but I still thought everyone would appreciate this quick meal idea. It's perfect for a night that you work late, or you'r just getting home from an out of town trip, or when you've been out doing errands all day, or when you find out at the last minute that your husband invited guests over when you didn't have anything planned yet ;) ... etc. 


There's no cooking, really, and it is actually quite gourmet looking and tasting!


Stop at the market on your way home and buy just three things, then assemble at home and voile- a very 'gourmet' dinner in no time at all!


Shopping List:


  • Individual-sized round loaves of Sourdough bread, 1 per person (they have them at Trader Joe's, they are also at the bakery of your supermarket)
  • Creamy Tomato soup, I LOVE the "Roasted Red Pepper & Tomato" soup that comes in a carton from Trader Joes (I've tried to home-make it, but it hasn't passed the taste test yet. Once I hit a version that's worthy I will share it with you... but for now- it still needs tweaking, so store-bought it is!)
  • Muenster Cheese, (or your favorite variety for grilled cheese sandwiches)
  • (If you don't have some salad makings at home, you can also grab a bag of spinach or a pre-made salad to serve on the side)
Visualize a circle on the top of your bread loaf, and cut out a cylinder from each bread loaf to create a bread bowl. 
*Helpful Hint: Don't point your knife straight down. Instead, hold your knife at an outward angle to slice along the outsides of the bread loaf... get it? I feel like that might be confusing... Basically, the bottom of the bread "cork" you pull out will be bigger than the top of it. 
Also, be cautious not to puncture through the bread.

Using your hands, pull the bread "cork" out carefully so as not to squish it too. much. Take this cylinder of bread and trim up the rough bottom, then slice it into round slices of bread for making the grilled cheese sandwich.
Toast the bread bowl in the oven. While the bowls are toasting, heat the soup in a pot on the stove, and lightly butter your sourdough bread slices and grill them in a frying pan on each side before adding the slice of Muenster to make a very 'gourmet' grilled cheese :)
Grate a little Asiago or Parmesan on top,
and in only about 5-10 minutes, you have a very simple yet impressive meal :)

Look at how yummy that is when the soup slowly soaks into the soft, warm insides of the bowl!

Serve with a spinach side salad for a well-rounded meal.

Friday, November 18, 2011

Roasted Garlic Hummus

Hummus is a super healthy snack. I don't have a lot of 'snacky' stuff in my house- I just keep a lot of ingredients stocked up in my kitchen, so if you get snacky you better be willing to wait for something to get made. I know, "poor Peter". But HUMMUS- now this is something I don't mind having on hand for snacking! Peter has loved having this homemade hummus in the house. It even helps me to get him to eat carrots and celery :)


Hummus is so healthy because it is high in iron, vitamins, & fiber... but most uniquely, it is a good source of a 'complete' protein. Our body uses over 20 amino acids to make protein and perform various functions in our body. Our bodies can actually make most of these amino acids on their own. However there are 9 that our body cannot make sufficiently for growth, so it is essential that we get them from the foods we eat. This is why they are called 'essential amino acids'. 
Certain foods compliment each other to create a complete protein. For example: 

  • Chickpeas have sufficient amounts of all the essential amino acids EXCEPT tryptophan and methionine. 
  • HOWEVER, seeds and grains happen to be rich in tryptophan and methionine, and low in some of the other ess. amino acids that the chickpeas do have. 
  • THEREFORE, when we combine the chickpeas with tahini (sesame seed paste) and serve it with grains (from the pita bread) you have sufficiently rich levels of ALL the essential amino acids.
i.e. you have a complete protein!


Recipe (makes about 2-3 cups):
1 can Chickpeas (aka garbanzo beans), drained
3 heaping Tablespoons of Tahini
Juice of one small Lemon (1/4 cup)
1/4-1/2 teaspoon Cumin (depending on your liking)
a few dashes of Paprika
1/8 teaspoon Cayenne Pepper
1/4 cup Water (as needed)
1 small head Roasted Garlic (about 12 cloves)
1/4 cup Extra Virgin Olive Oil


It is super easy to make your own roasted garlic. Just slice your head of garlic in half, cross wise, then drizzle with EVOO and sprinkle lightly with salt. Wrap each half in a square of foil and roast at 400 degrees F for about 40 minutes. 


Place all ingredients, except olive oil, in food processor and blend until it becomes a thick paste.

Then AS THE PROCESSOR IS RUNNING drizzle in the olive oil until you get the desired consistency, though it should be thick.


Serve with pita bread, carrots, bell pepper slices, and/or celery sticks.

Garnishing options:

Drizzle with olive oil
Sprinkle with Paprika
Sprinkle with Cayenne
Top with chopped Parsley

Tuesday, April 19, 2011

Summery Strawberry & Spinach Salad


I have been so excited about strawberries coming in to season! I feel like every time I go to the market, I come home with another box of strawberries! They are so sweet and juicy and they work with just about everything! ...snacks, desserts, salads, breakfasts, smoothies, garnishings... strawberries really are a super food; both in their extensive uses and in their nutrients :)


This strawberry salad is packed full of nutrient-dense ingredients yet has a fresh and light taste. It is a great summer salad!


Recipe:
1 bag of Spinach, or Spinach & Spring Green Mix, about 8-10 oz.
15 Strawberries, thinly sliced
1/2 batch (approx. 1 1/2 cups) of Candied Walnuts, or 1/2 cup Sliced Almonds, or a mix of both
6 oz. of crumbled Feta Cheese
1/4 small Red Onion, thinly sliced
1/2- 3/4 cup dried Craisins
toss with Raspberry-Red Wine Vinaigrette to coat


Toss all ingredients and plate it up as a scrumptious chopped side salad:


Or have fun plating it up fancy:

Or serve it with a breast of grilled, sliced chicken for protein if this salad is to be your main entree:

Wednesday, February 23, 2011

Mediterranean Pasta Salad


My niece, Kinley, had a picnic party at the park to celebrate her 2nd birthday this month. I was in charge of bringing a pasta salad side dish. This is somewhat of a difficult task in our family, only because my Aunt Diana Lu is the queen of awesome pasta salads. I played around with different ingredients until I found a combination that I was happy with. I think even Aunt Diana Lu would approve of this one :)


A lot of pasta salads use mayonnaise as the base of their creamy dressing, but because this was for an afternoon picnic and I wasn't sure how long it would be sitting outside before we ate it, I wanted to avoid any mayo in this one. Also, as an added bonus, the salad would be healthier without the addition of mayonnaise. The end result was a very flavorful but light dressing. The feta even mixed well with the dressing to create a little creamy texture in the absence of mayo :) I loved it and I hope you enjoy it too!


Recipe List:


Salad Dressing:


  • 1/2 cup Extra Virgin Olive Oil
  • 1/2 cup Red Wine Vinegar
  • 1 1/2 tsp minced Garlic
  • 1/2 tsp Black Pepper
  • 1/2 tsp Salt
  • 2 tsp Sugar
  • 1 tsp Lemon Juice
  • 1 1/2 tsp Honey


Salad Ingredients:


  • 2 lbs of Farfalle or 'Bow Tie' pasta, cooked and cooled (I like bow tie pasta for pasta salad, but you can use 1 lb of whichever pasta you prefer)
  • 1 cup Marinated Artichokes, roughly chopped
  • 1 Red Bell Pepper, diced
  • 1 small can (4 oz) of sliced Olives, drained
  • 1/2 small Red Onion, diced
  • 6 oz. Sundried Tomato & Basil Feta Cheese (regular Feta would be just fine too)
  • 1 pint (2 cups) Grape Tomatoes, halved


Mix together the salad dressing ingredients with a whisk.


Add all of your chopped/prepared salad ingredients with the cooled pasta in a large bowl, and toss together with the salad dressing:


 Transfer to your serving bowl and enjoy!
This is also a great dish because you can make it the night before. Just cover your bowl with plastic wrap and store in the fridge overnight. This will let the flavors marinade together even more, and give you more free time on the day of your event to make more dishes or set up for your guests.


During the birthday party, a very smart ice cream man circled his truck around the park with his luring music calling out to all the children. Kinley LOVES the ice cream man. In fact, sometimes she hears music, whether it's the ice cream truck or not, and she yells with excitement, "Ice Cream Man!" Of course, that was the drill at the park this day. On our way running over to the ice cream truck, she told me that she wanted 'pink ice cream'. I asked the man for his most pink ice cream, and he handed me a 'pink panther'.
 Isn't she SO cute eating her pink panther ice cream.


And while all the children played with their friends at the park... so did the men:

Sunday, February 13, 2011

Vodka Pasta- a perfect pink sauce for Valentines!


Okay, vodka sauce is my favorite pasta sauce. I fell in love with it the very first time I tasted it at a little Italian ristorante in Dana Point, 'Mario's By The Sea'. With Valentine's Day just around the corner, maybe you will fall in love too... with the sauce I mean. It is so pink, and pretty, and perfect for the occasion! It is a great alternative to the usual red sauce for a special treat once in a while. This vodka sauce is  somewhat sweet with its sauteed onion, sweet basil, creamy background, and a good dose of cheesy parmesan... all very complimentary counterparts to the typical tomato sauce.


Recipe List:
  • 1/2 Onion, diced
  • 2 cloves Garlic, minced
  • 1/4 tsp Red Pepper Flakes
  • 1/2 cup Vodka
  • 1 (28-oz) can of Crushed Tomatoes, OR 3 cups or so of your own homemade red sauce
  • 1 cup of Half & Half (or a little more as preferred to achieve your desired pinkness :) -In a normal Vodka sauce recipe, this would be heavy cream, but I have substituted it for the (how do I say this nicely) less unhealthy half & half, haha.)
  • 1/2 cup of grated Parmesan Cheese, plus extra for serving
  • 1 lb of pasta (I like to use Penne Rigate, but any pasta you like will do)


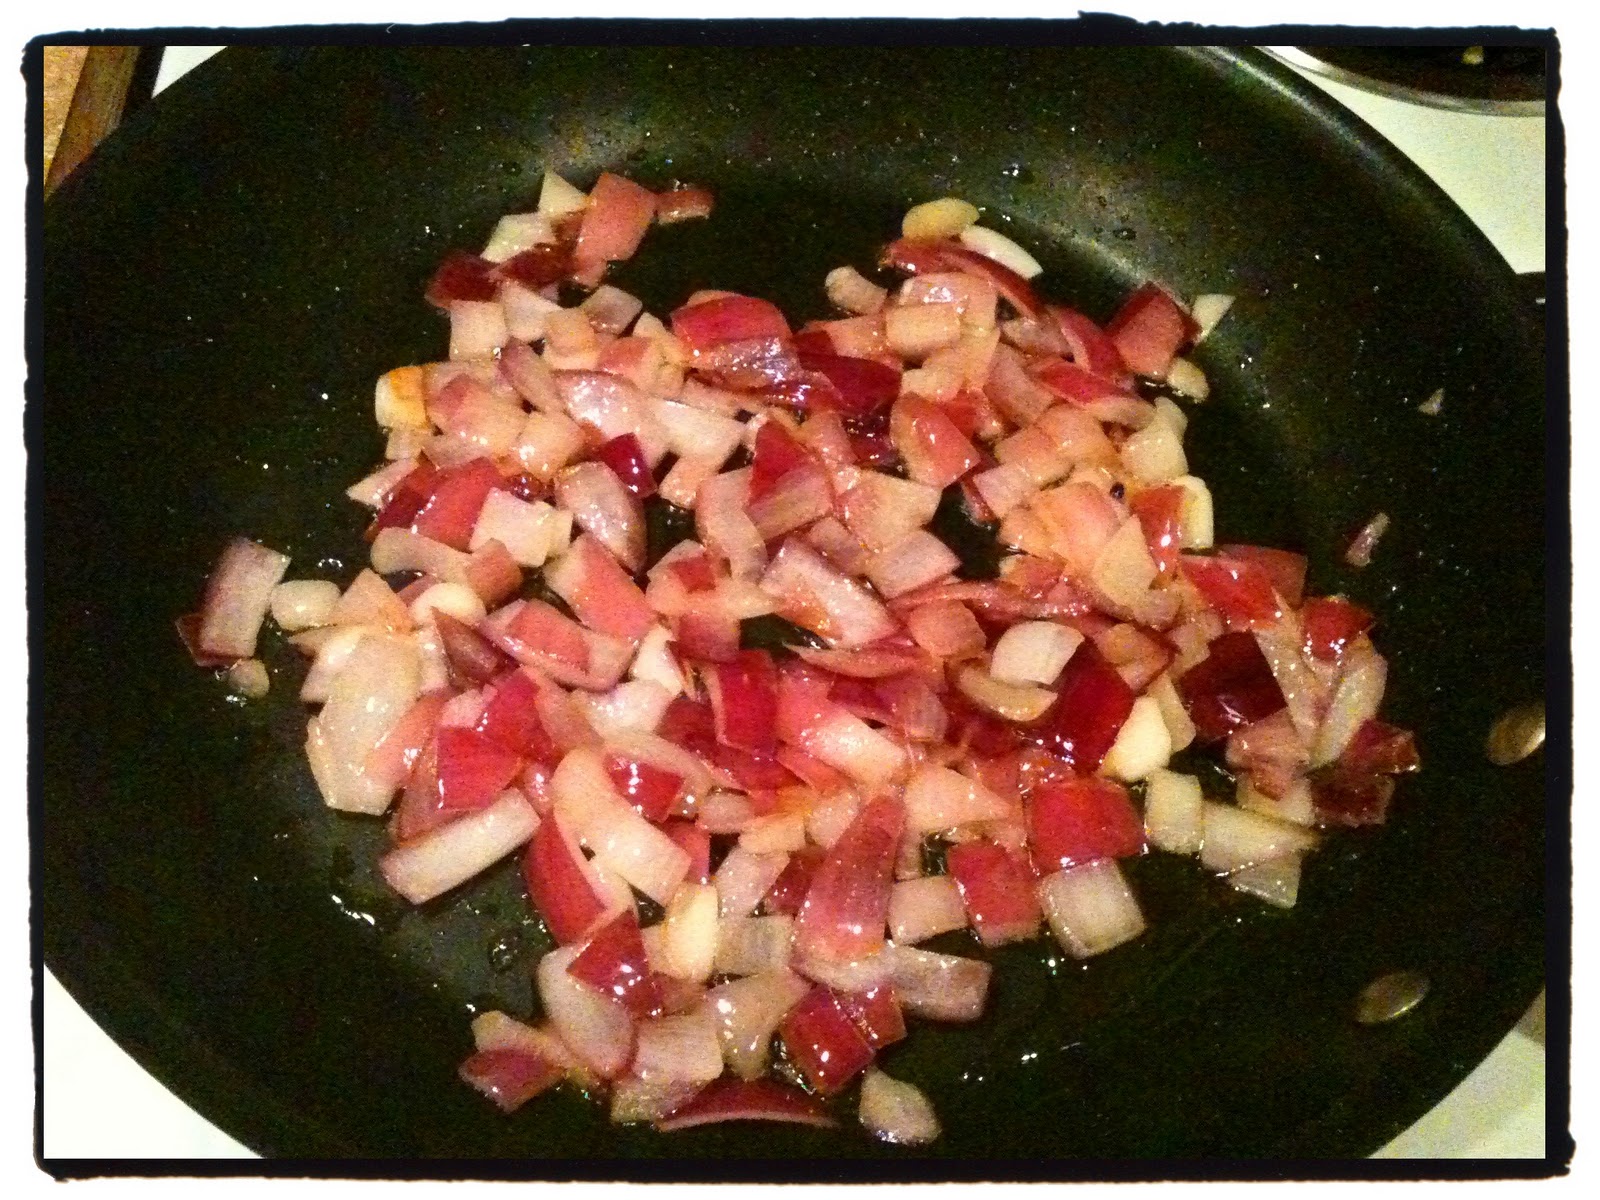
Start by sauteing the onion in some extra virgin olive oil over medium-low heat for a few minutes (while you mince your garlic, and start boiling your pasta):


Then add the minced garlic and the red pepper flakes, continue to saute over medium-low heat for another minute:


Stir in the Vodka and let that simmer for about 2 minutes before you add in the crushed tomatoes and basil. Let this all simmer together for a minute:


Now, stir in your half-n-half and watch the pan turn to a beautiful pink color! :) Bring it to a slight boil, then turn the heat to low and let this sauce simmer together until your pasta is done cooking.


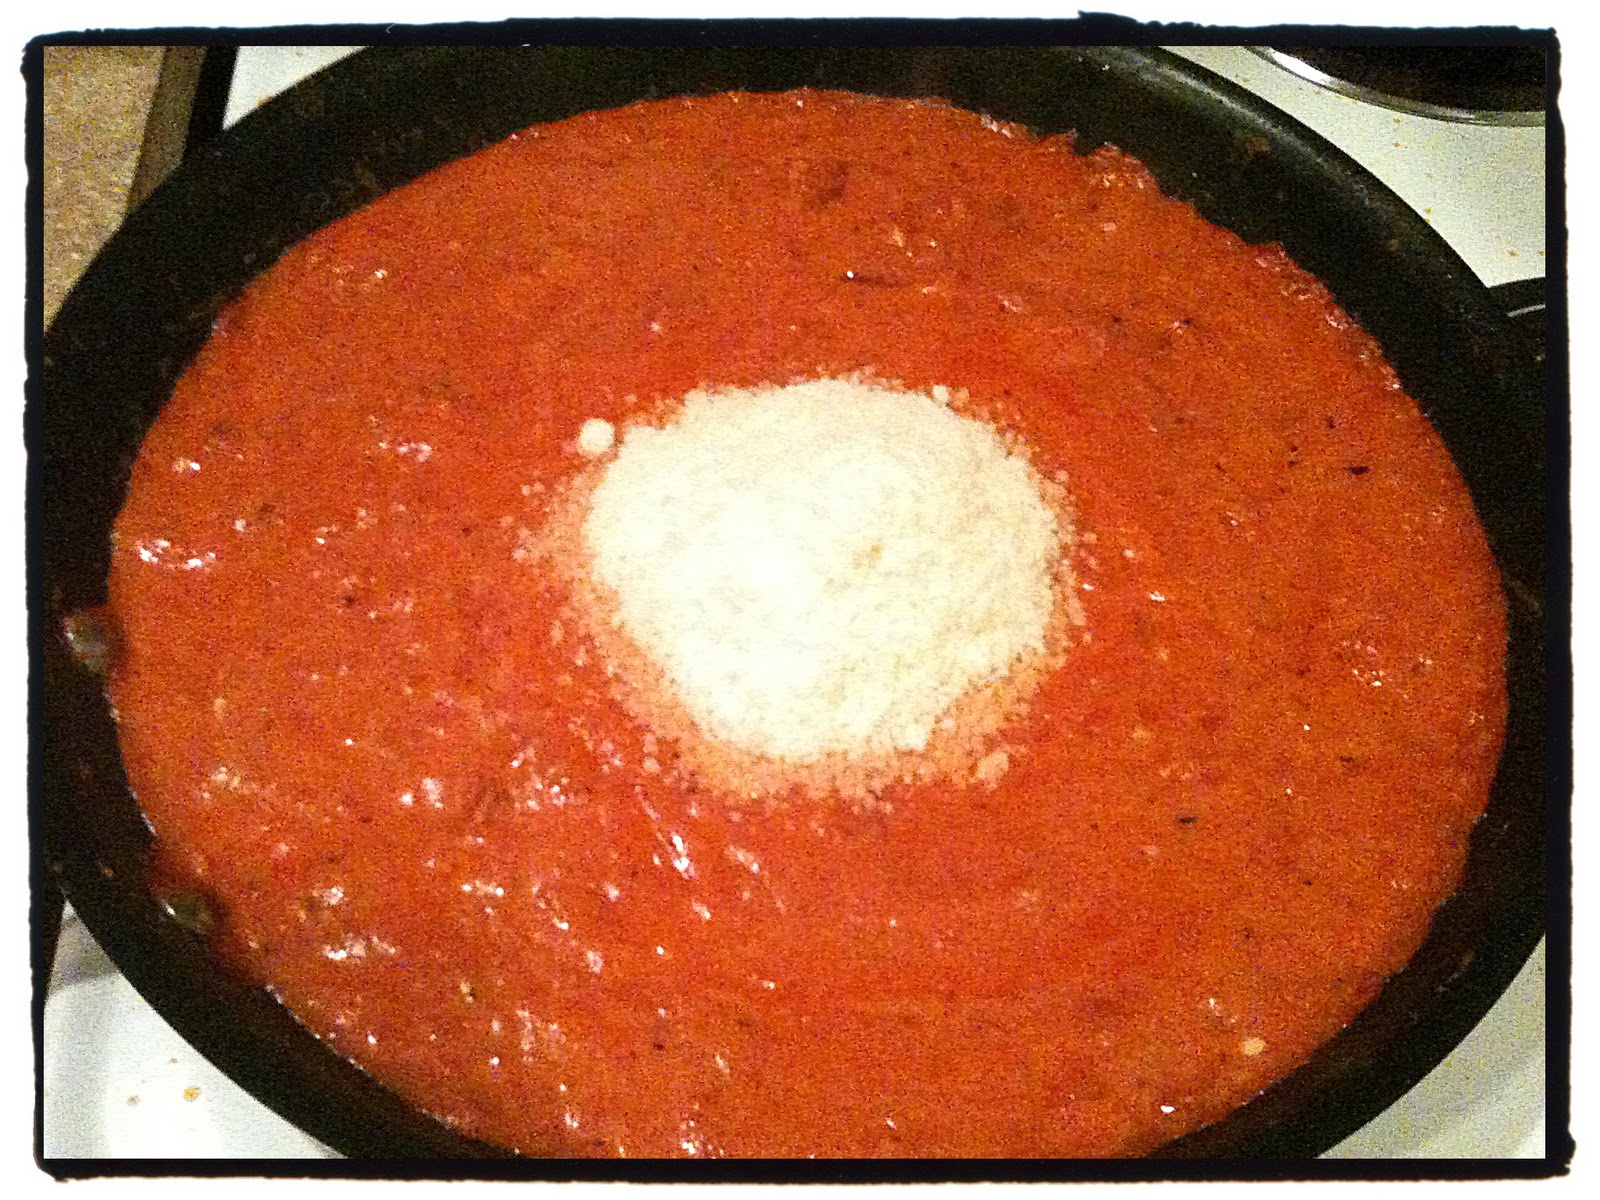
When the pasta is al dente, drain the noodles, then stir the parmesan cheese into the sauce


Then combine the sauce with the hot pasta and.... mangia! (or 'eat', in Italian!)
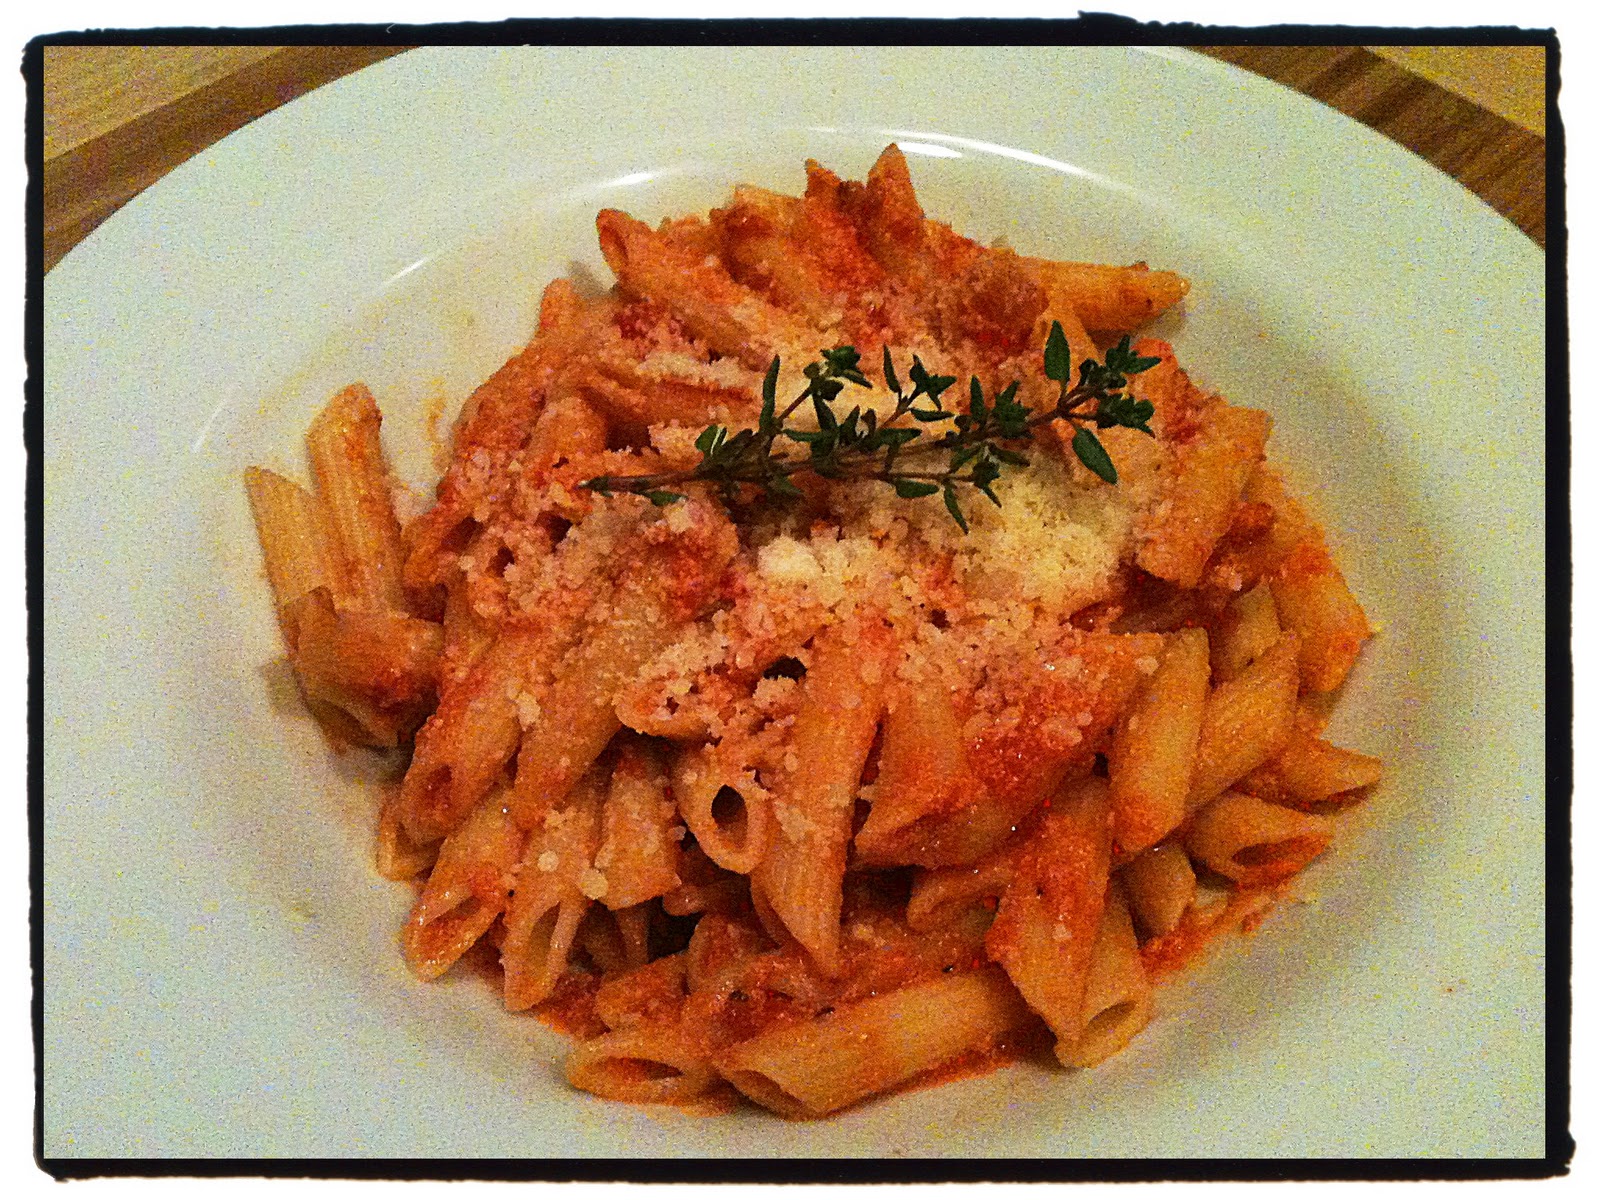
 Here are two different ways you can plate up this pink sauce :)


Don't forget to top it with a little extra sprinkle of parmesan cheese :) (If you're serving this for Valentine's Day, you can use a little heart-shaped cookie cutter and just sprinkle parmesan inside the heart so that you have a sweet design for your special night. I tried to do it tonight, but I couldn't find my cookie cutters. -Also, I think this would work only if you ladle the sauce on top of noodles (like picture #1 above) before you stir it all together (like picture #2 above)).


Also, I would have garnished with a few leaves of fresh basil, but my basil plant passed away. Therefore, I had to use another herb to garnish here that is commonly in the red sauce; thyme! But, if you have some fresh Basil, that would make a great garnish here! Garnish should give a little hint as to the flavors and herbs actually used in the dish.
I also think that it's important to garnish, because people eat with their eyes first. Plus, it's so fun to dress up your dishes, especially if it's a meal for entertaining guests or a special event, like say... Valentine's day! :)


Alterations:
  • I love, love, love sliced zucchini in this sauce. Unfortunately for me, I married a zucchini-disliker. Cut a zucchini in half lengthwise, and then slice them so that you end up with a bunch of little half-moon cuts; steam them for 30 seconds and stir them into the sauce to let it simmer after you have added the cream. 
  • You can also add little broccoli florets too. I have done both zucchini and broccoli together and it is great!
  • Serve with some diagonally cut grilled chicken, so you can keep the elegance while providing some protein
  • Accompany with warm, toasty bread... mmm!

Tuesday, January 11, 2011

Quick, Easy Marinara


Okay, so this is a very quick and easy way to whip up a 'homemade' red sauce, plus it only uses one pot! I made this batch meatless because I wanted to use the leftovers to make pizza tomorrow night. However, you can easily add meat in during the cooking process. If I were to add it, I would use ground turkey- healthier and still adds tons of meaty flavor and texture to an already flavorful sauce.


**Nutrition Noteworthy: Red sauce is an excellent source of nutrients. One reason is because tomatoes contain lycopene, which is most beneficial when it has been cooked. **


First, I will start with your grocery list:


  • 4 Tbsp Extra Virgin Olive Oil (or so)
  • 1 small or 1/2 large Onion, diced
  • 3 Cloves Garlic, minced
  • 1/2 tsp Red Pepper Flakes (more or less, depending on your preference)
  • 28 oz can of Crushed Tomatoes
  • Any herbs/seasonings you prefer (I like a simple Basil, Oregano, and Thyme combo for red sauce) 


I used a dutch oven, but you can use any heavy bottomed sauce pan or pot you like. Heat the olive oil on a medium setting heat. Then add the diced onion. Stir to coat well with the olive oil.

Then, let them sweat it out on medium or medium-low until they become golden, sweet, and translucent. (About 10 minutes) Like this:

Then add your minced garlic and red pepper flakes at this time. It is important that the garlic is not added any earlier, because when overdone, garlic becomes bitter. We only want to lightly saute it with the onions before we add the liquid- this is how I prevent that tough, bitter garlic taste.

*Side note: This is one of my FAVORITE kitchen toys. I cook with garlic often, so this has made my life so much easier! It is called the 'garlic zoom' and I got it from Williams & Sonoma. Just pop the cloves out of their skins, drop them into the 'zoom', wheel it back and forth a few times like a toy car, and VOILA! ...quick, mess-less, fresh minced garlic!

Okay, back to the sauce- Once, your garlic and red pepper have been sauteing with the onion for about 1 or 2 minutes, dump in the can of crushed tomatoes and your herbs, and give 'em all a good stir. I used fresh thyme and oregano from my little outdoor herb pot, but I used dried basil, since it's winter and my poor little basil plant does not tolerate the cold weather well (Basil does very well during the summer). Dried herbs are just fine, but remember that the dehydrating process condenses the flavor so you will not need to use as much dried herbs as you would use fresh.

Let it all simmer for about 5-10 minutes. I let mine simmer for a few minutes uncovered, and then I finished it out with a lid on because I didn't want it to evaporate and become too thick. However, as usual, you can change it up to your liking. Depending on what you're making it for, or if you just like it super thick and chunky, leave the lid off and let it evaporate and thicken up- but be sure to stir it often if so.

After it is done simmering, give it a little taste and make sure it is just how you want it. Now is the time to add anything else that you think it might need. Maybe some fresh ground pepper, or garlic salt, or maybe even some more herbs :) I liked mine just how it was, so I was finito!

Variations: 
Next time I make red sauce, I might play around with it to make a few variations. Next time, I might add some tomato paste to give it a little more deep and rich flavor. Also, if I were to make it meatless again, I might add a 1/4 or 1/2 cup of red wine (for cooking, I use a cheap, dry bottle of 2 buck Chuck's red Cabernet Sauvignon). The wine can be added in and simmered for a little bit before the tomatoes go in. This might help create some extra depth to substitute for the missing meat. The wine could even be added in with ground meat (again, I like to use Turkey because it is nutritious and still full of flavor in a dish like this). Red wine compliments the meaty flavor and will give it some rich dimension.